 Mackenzie Wilson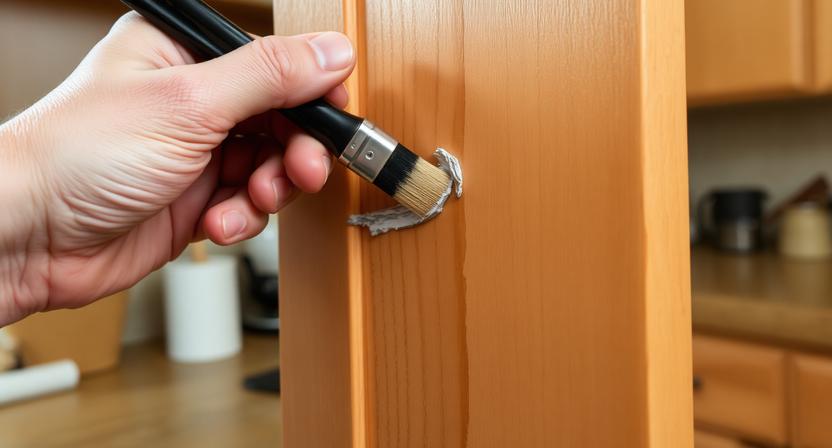
Painted kitchen cabinets can completely change how a space feels. They brighten the room, modernize older kitchens, and make everything look cleaner and more put together.
But over time, even the best-painted cabinets start to show wear. Edges chip. Corners fade. Areas around handles take the most damage. It is almost unavoidable in a space used every day.
The good news is that most chips are easier to fix than they look. With the right approach, you can restore the finish so well that the damage blends in and disappears.
Why Kitchen Cabinets Chip So Easily
Before fixing the problem, it helps to understand why it happens.
Daily Wear and Constant Contact
Kitchen cabinets are one of the most frequently touched surfaces in any home. Opening doors, pulling drawers, and handling hardware all create friction over time.
That repeated contact weakens the paint, especially around edges.
Grease, Moisture, and Heat
Cooking releases oils and humidity into the air. These can settle on cabinet surfaces and slowly break down the paint’s bond.
If cabinets were not thoroughly cleaned before painting, that process can happen even faster.
Natural Aging of Paint
Even high-quality cabinet paint is not permanent. Over time, it can become more brittle and prone to chipping, especially in high-use areas.
Step One: Clean the Area Properly Before Anything Else
Why Cleaning Is the Most Important Step
It is easy to skip cleaning and go straight to sanding or painting. That is usually where repairs fail.
Cabinets often have a thin, invisible layer of grease. If you paint over it, the new paint will not stick properly.
How to Clean for Best Results
Use warm water with a small amount of dish soap to remove surface residue. For tougher buildup, a gentle degreaser can help.
After cleaning, dry the area completely. Any moisture left behind can affect how the repair holds up.
Step Two: Smooth the Damaged Area
Light Sanding Makes a Big Difference
Once the surface is clean, lightly sand the chipped area. This removes loose paint and softens the edges of the damage.
Without this step, the repair can look like a patch instead of blending into the original finish.
Filling Deeper Chips
If the chip goes down to bare wood or feels uneven, use a small amount of wood filler.
Apply it carefully, let it dry fully, then sand it smooth. The goal is to recreate a flat, even surface that matches the rest of the cabinet.
Step Three: Rebuild the Finish in Thin Layers
Start With Primer if Needed
If you see exposed wood or raw material, apply a bonding primer first. This helps the paint adhere and reduces the chance of future peeling.
Use Thin, Controlled Coats of Paint
Choose a color that matches your cabinets as closely as possible. Apply the paint in thin layers using a small brush or foam applicator.
It may take a few coats, but this approach gives a smoother and more natural result.
Blend Beyond the Chip
For better results, extend the paint slightly beyond the damaged area. This helps the repair fade into the surrounding surface instead of standing out.
In some cases, repainting the entire door or drawer front may be the best option for a perfectly even look.
Step Four: Protect the Repair So It Lasts
Add a Protective Topcoat
Once the paint has dried, a clear topcoat can help protect the area from future wear. It adds durability and helps the repaired spot match the original finish.
Allow Time for Full Curing
Even if the paint feels dry to the touch, it takes time to fully harden. Avoid heavy use for a few days to prevent new damage.
How to Prevent Future Chips
Keep Cabinets Clean
Regular cleaning prevents grease buildup, which can weaken paint over time.
Avoid Impact and Pressure
Slamming cabinet doors or pulling on edges can lead to chips. Gentle use makes a noticeable difference.
Fix Small Chips Early
Minor damage is much easier to repair than larger areas. Addressing chips as soon as they appear keeps them from spreading.
When a Simple Fix Is Enough
Not every chip requires a full repaint or professional help. Most small to medium areas can be repaired with basic tools and a bit of patience.
What matters most is taking your time and focusing on the details. Cleaning properly, smoothing the surface, and building the finish in layers are what create a result that looks natural.
A Simple Way to Refresh Your Kitchen Without a Full Remodel
Repairing chipped cabinets may seem like a small task, but it can have a noticeable impact on how your kitchen feels.
Instead of living with worn edges or planning an expensive repaint, you can restore your cabinets gradually, one area at a time.
And in the process, your kitchen starts to feel cared for again, not because everything is brand new, but because it has been thoughtfully maintained.